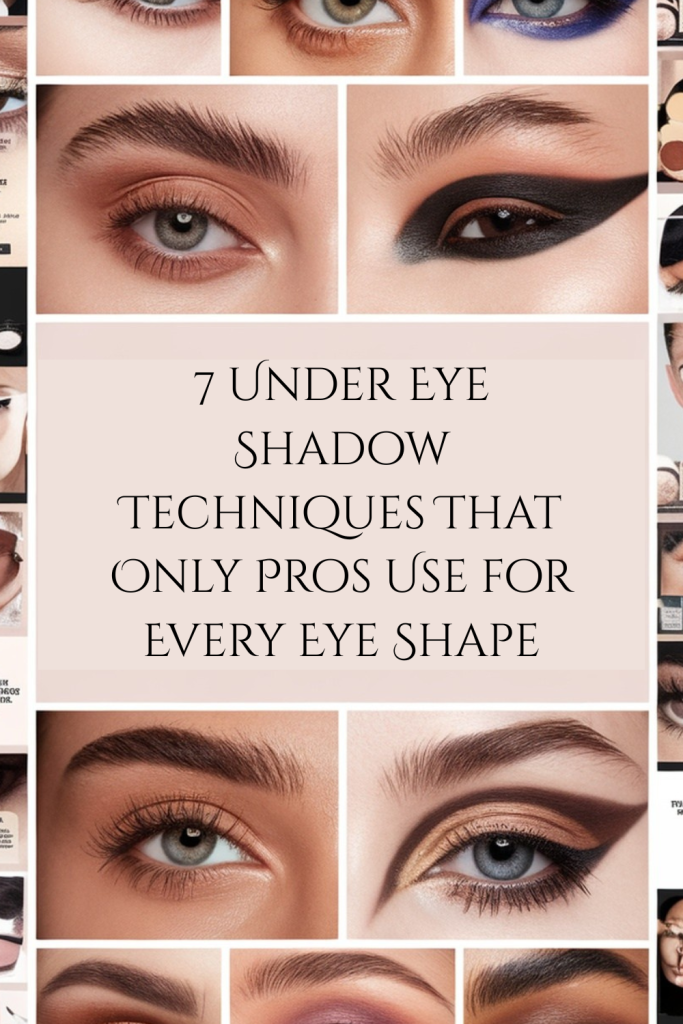
7 Under Eye Shadow Techniques That Only Pros Use for Every Eye Shape
7 Under Eye Shadow Techniques That Only Pros Use for Every Eye Shape: Easy Tips for a Flawless Look
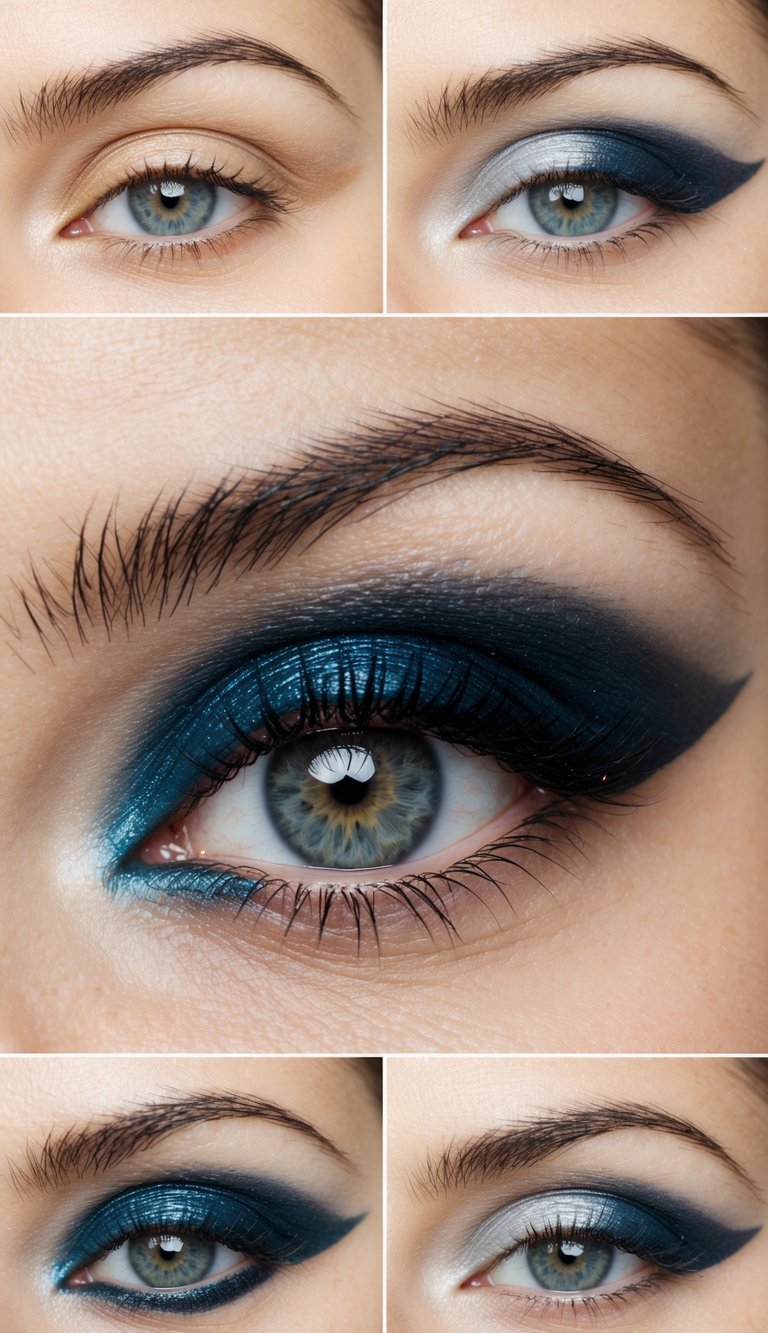
Unlocking the secret to striking under eye shadow isn’t just about color choices—it’s about using techniques that fit your unique eye shape. When you tailor professional under eye shadow methods to your eye shape, you get a look that’s both flattering and sophisticated. Whether your eyes are round, almond, hooded, or somewhere in between, it’s possible to achieve seamless definition and enhanced dimension.
This guide shows you the exact methods top makeup artists use so you can create crisp, pro-level results every time. With each technique, you’ll discover small tweaks that make a big difference for your specific features. Get ready to up your under eye shadow game and see your eye makeup transform.
Understanding Under Eye Shadow Techniques
Applying under eye shadow can define your eyes, add depth, and enhance your makeup’s overall harmony. Successful application relies on understanding its purpose, common difficulties, and ways professionals approach the area.
What Makes Under Eye Shadow Essential
Under eye shadow isn’t just for dramatic looks. It shapes, balances, and helps your eyes appear larger or more lifted. When placed correctly, it can correct the look of unevenness or asymmetry, and help eyeliner appear softer and more blended.
For example, a touch of shadow under your eyes can balance a bold upper lid. It also creates a seamless transition if you wear smoky or colorful looks.
Many makeup artists use under eye shadow to define the lower lash line without making the eyes look harsh. They often select softer, muted tones for under eye use, which gives your look more depth while still appearing natural.
Common Challenges with Under Eye Makeup
One of the biggest challenges is preventing smudging or fallout, which can make eyes look tired. Certain textures or shades may also emphasize fine lines or puffiness if not chosen carefully.
Key challenges:
- Creasing
- Exaggerating dark circles
- Shadow fallout onto cheeks
- Color clashing with upper lid
Using the wrong brush size or shape is a common problem. Too much product can settle into lines or create a heavy appearance.
Picking suitable formulas—matte, satin, or shimmer—depends on your under eye texture. Hydrated skin and a good primer can help shadows stay put, but overusing concealer or powder beforehand can lead to patchiness.
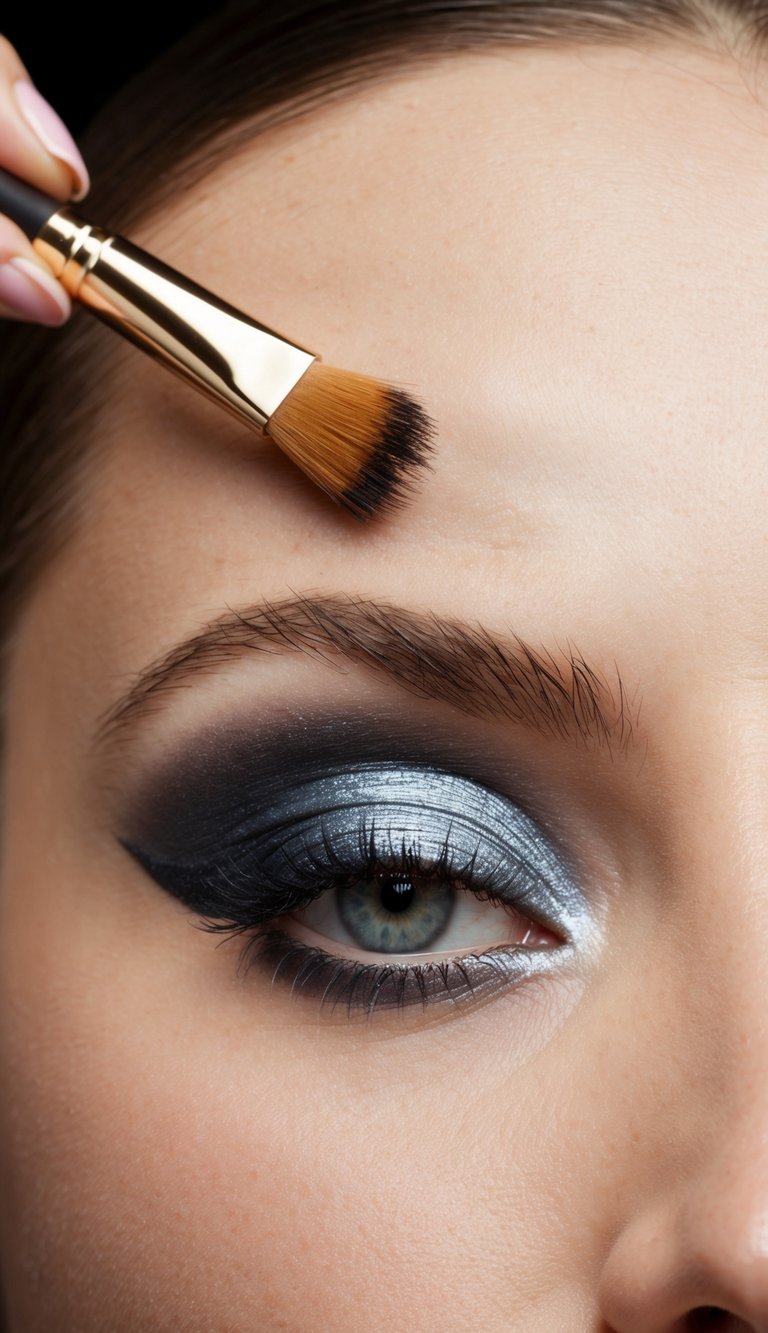
How Professionals Approach Under Eye Shadow
Professionals tend to use small, precise brushes for maximum control. They blend lightly, focusing product just at the lash line and gradually softening it out for a diffused look.
Experts often use the following steps:
- Prep skin with light moisturizer and primer.
- Apply a thin base of concealer or foundation, not too heavy.
- Select a complementary shade—usually 1-2 tones deeper than your skin or the upper lid color.
- Use a fine smudge brush or liner brush for precise placement.
Pro tips:
- Layer powder shadow over pencil to lock in color.
- Choose soft, taupe or brown for natural looks; deep plum or charcoal for definition.
- Only bring the shadow ¾ of the way across the lash line for a lifted effect.
A light hand and gradual layering give you more flexibility to adjust intensity and shape. Keeping cotton swabs and clean brushes nearby lets you correct any mishaps without starting over.
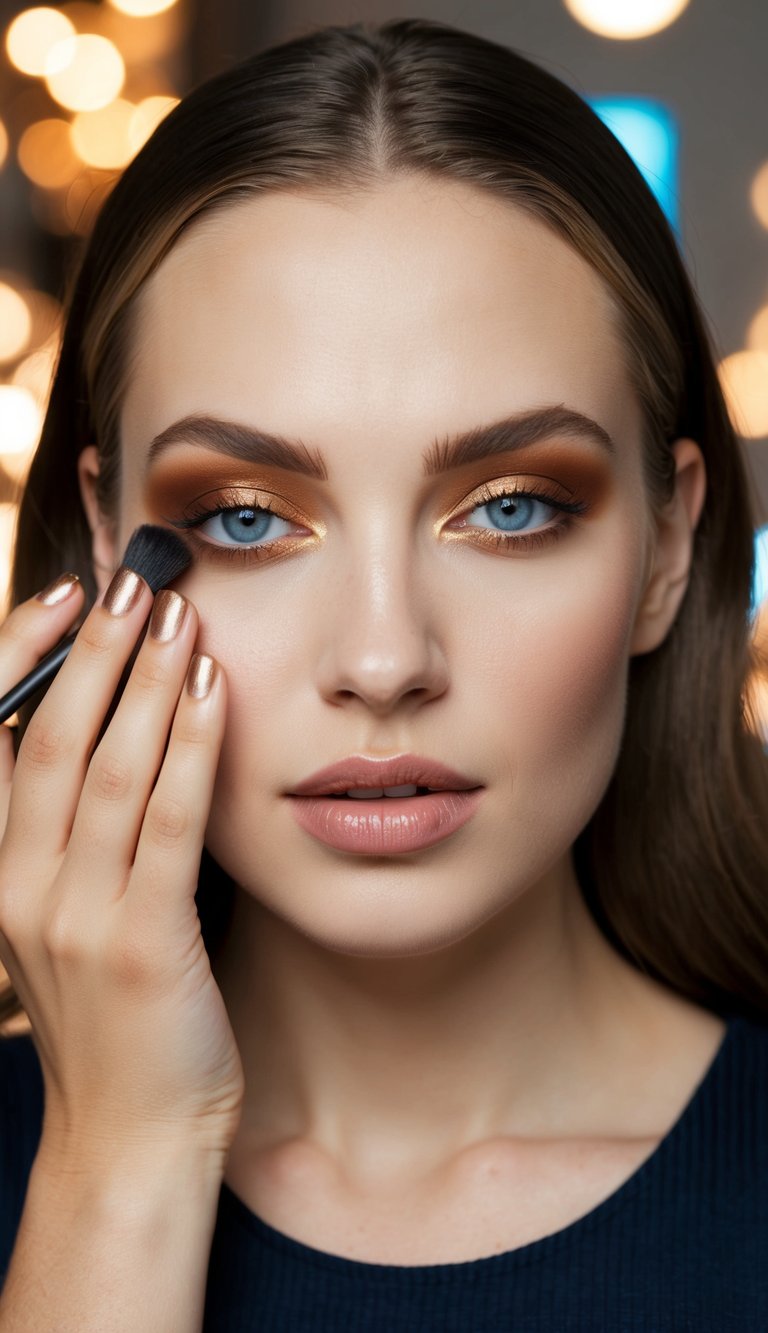
Technique 1: Precision Highlighting

Enhancing the area directly beneath your eyes instantly brightens your entire look. This technique depends on choosing the right highlighter and applying it with the correct tool for an even, natural result.
Choosing the Right Highlighter Shades
Choosing the best highlighter depends on your skin tone and undertone. For fair skin, opt for pearl or champagne tones. Medium complexions benefit from soft gold or peach. If you have deeper skin, rich gold or bronze brings out warmth without looking ashy.
Stay away from glittery or metallic formulas. These highlight texture and can draw unwanted attention to fine lines. Instead, reach for finely milled powders, satiny creams, or liquid highlighters with a natural sheen. A shade one or two tones lighter than your concealer is ideal for a lifted effect.
Tip: Test highlighter shades on your wrist in natural light. It should look luminous but not stark or obvious. Refer to the table for some recommended options:
| Skin Tone | Recommended Highlighter Shade |
|---|---|
| Fair | Pearl, Soft Champagne |
| Medium | Peach, Light Gold |
| Deep | Bronze, Warm Gold |
Application Tools for Precision
For the delicate under-eye area, brush choice matters. Use a small, tapered brush to reach tight corners and blend edges without disturbing concealer. Synthetic brushes are best for creams and liquids.
If you prefer tools, a damp makeup sponge works well to pat in product gently and keep everything seamless. For powder highlighters, a small fan brush can dust on just the right amount. Do not apply with fingers, as this can deposit too much pigment and cause patchiness.
Clean tools before each use to avoid caking and bacteria. Pat, don’t swipe, to prevent disturbing the base makeup underneath. Apply in thin layers to build intensity gradually for a natural and fresh finish.
Technique 2: Gradient Blending
Gradient blending helps you achieve a smooth shift from deeper to lighter shades beneath the eyes. This approach makes shadow look seamless while accentuating your natural features with a polished, soft-focus finish.
Creating a Seamless Transition
Start by choosing at least two shades: a deeper tone for close to the lash line and a lighter one for blending outward. Use a small, dense brush to apply the darker shadow tight to the lower lashes. Next, switch to a clean, fluffy brush and use gentle, back-and-forth motions to blend the edge of the dark shade.
Keep your strokes short and soft to avoid harsh lines. For extra softness, you can add a touch of a neutral or skin-toned shadow just beneath the darkest color. This step blurs the border and ensures a natural fade, making the transition look effortless.
Remember, applying a minimal amount at first and building up the intensity helps prevent over-application. To keep things looking professional, avoid extending the darkest color past the pupil on the lower lash line, unless you want a more dramatic look.
Blending for Different Eye Shapes
Gradient blending can be customized for your eye shape. If you have round eyes, extend the blend slightly outward and upward at the corners for a subtle lifting effect. For almond-shaped eyes, follow the natural curve without overextending, letting the gradient enhance those natural lines.
If your eyes are hooded or downturned, keep the gradient tight to the lash line and blend out horizontally rather than down. This prevents unwanted shadows that can draw the eyes downward. With monolids, use a soft touch and focus on fading gradually out from the lash line, ensuring the blend is wide but subtle.
Tip:
A short, controlled brush works better for small or deep-set eyes, while larger, fluffier brushes help those with more lid space achieve a smooth finish. Adjust brush size and blending method as needed to fit your specific eye shape.
Technique 3: Layering for Lasting Power
Getting under eye shadow to stay put without creasing or smudging can be tricky, especially if you have oily skin or fine lines. Layering the right products and setting them correctly helps you achieve a seamless look that lasts for hours.
Building Pigment Without Creasing
The secret to rich, smooth color under your eyes is applying thin layers of pigment instead of one thick swipe. Start with an eyeshadow primer. This creates a smooth base and reduces oil, which is key for preventing creasing later.
Next, use a flat brush to gently press a small amount of cream shadow or concealer under your lash line. Buff it lightly with a fluffy brush to diffuse edges. Allow each layer to dry fully before adding more product. If you want extra color, tap a fine layer of powder shadow on top, building gradually rather than packing on too much at once.
Here’s a handy step-by-step table:
| Step | Product Type | Tool Needed |
|---|---|---|
| 1. Prep | Eye Primer | Fingers/Brush |
| 2. Cream Base | Cream Shadow | Flat Brush |
| 3. Blend | – | Fluffy Brush |
| 4. Set Color | Powder Shadow | Small Detail Brush |
Setting Products to Prevent Smudging
Keeping your hard work from melting or smudging depends on how you lock it in. After your pigment layers are down, take a clean, soft brush and gently sweep a translucent setting powder over the area. Use just enough to mattify the skin without making it look dry.
Instead of regular powder, some pros use a finely-milled finishing powder or a blur powder under the eyes for a softer effect. If you’re prone to watery eyes or allergies, choose a water-resistant setting spray instead of powder to set your makeup. Hold the spray a few inches away and mist lightly, allowing it to dry before blinking.
For touch-ups, keep a travel-size powder and brush handy to absorb any excess oil throughout the day. This keeps the shadow looking fresh without settling into creases.
Technique 4: Color Placement by Eye Shape
Where you place under eye shadow can transform your overall look, especially when it’s matched to your unique eye shape. Adjusting your shadow technique helps balance features and create definition.
Tailoring Under Eye Shadow for Hooded Eyes
For hooded eyes, the lower lid often appears hidden, making it important to create the illusion of more space. Use a matte, mid-tone shadow along your lower lash line.
Apply shadow slightly below the lashes to subtly pull the eye downward and open the gaze. Avoid using shimmer close to the inner corner—it can emphasize shadow and fullness.
Tip: Try blending the shadow outward, following the natural angle of your lower lash line. This draws attention away from the lid fold and brings definition to your eyes.
Accentuating Almond Eyes
Almond eyes usually have a balanced, symmetrical shape, and under eye shadow can enhance this harmony. Sweep a soft line of color directly along the lower lash line, keeping the look delicate.
Pair a neutral transition shade with a slightly deeper hue on the outer third of your lower lash. This gives emphasis without weighing down your natural shape.
- Use a pencil brush for exact placement
- Avoid heavy lines or strong shimmer under the entire eye
- Add a touch of highlight to the inner corner for brightness
Your goal is to complement your eye’s contours rather than overpower them.
Opening Up Round Eyes
Round eyes benefit from techniques that elongate and subtly lift. Apply a taupe or medium-brown shadow along the outer half of the lower lash line.
Blend the shadow softly toward the temple for a slight winged effect—this draws the gaze outward, creating a more elongated appearance. Use a concealer to clean the inner lower lash line, keeping that area bright and open.
- Keep pigments matte or satin, not glittery
- Resist connecting the shadow fully around the eye—leave space near the tear duct
- Focus color on the outer third to prevent a heavy, closed-off effect
Strategic blending and shade choice work together to enhance the shape without exaggerating roundness.
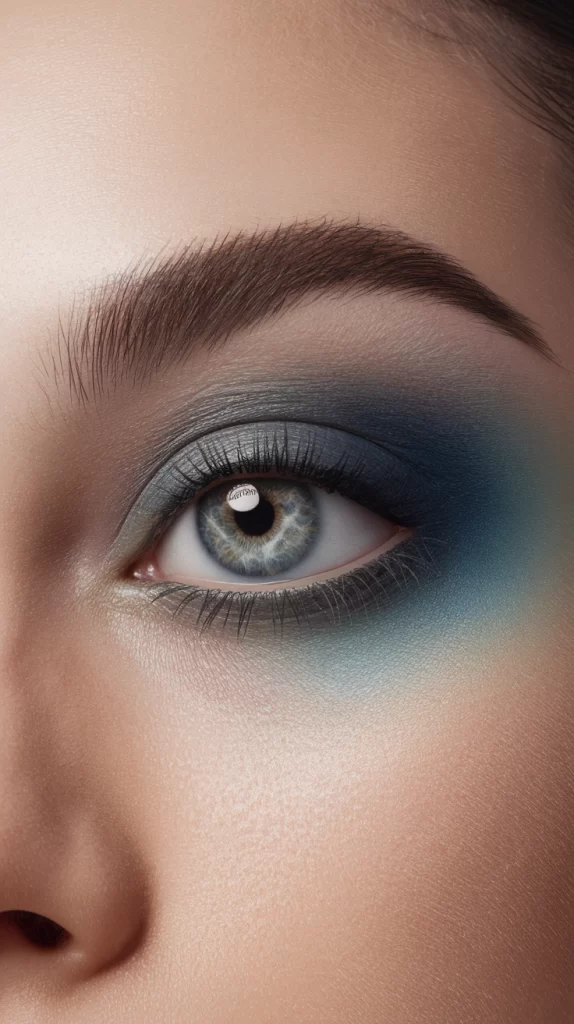
Technique 5: Smoky Under Eye Effects
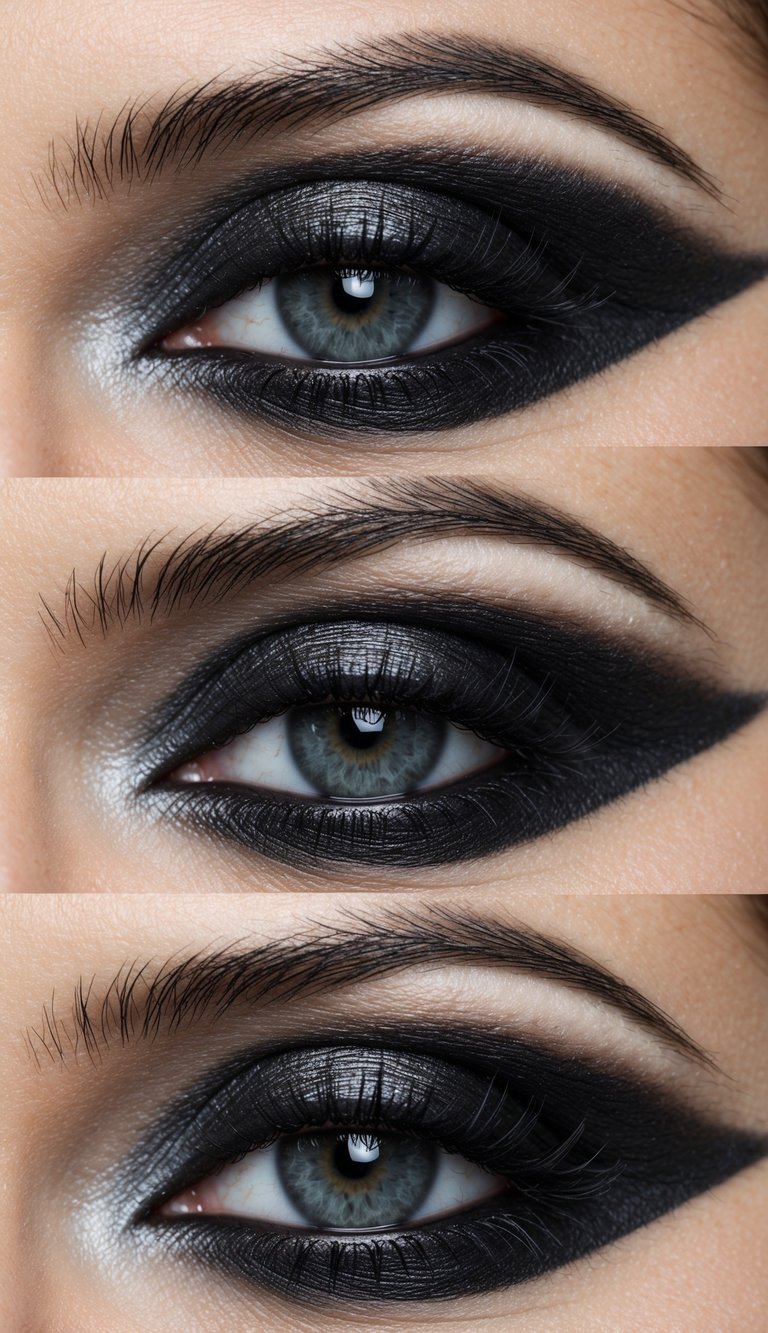
Smoky under eye effects can create depth and balance for your overall eye makeup. Choosing the right amount of shadow and blend is essential to prevent a harsh or heavy appearance.
Creating a Soft Diffused Look
For a soft, wearable smoky look under the eyes, start with a pencil or powder eyeshadow a shade or two darker than your skin tone. Use a small, fluffy brush to gently blend the shadow along your lower lash line.
Dab and blend using short, back-and-forth strokes. The focus should be on a gradual fade, avoiding sharp lines.
Pro Tips:
- Keep product mostly on the outer half of your eye for a lifted effect.
- Use a clean brush to diffuse the edge of the shadow even further.
- If you go too dark, a touch of translucent powder can lighten the look.
This technique works well for both daytime and understated evening looks. The goal is to add soft definition without making your eyes appear smaller.
Adding Depth for Dramatic Styles
For dramatic smoky effects, select a deeper shade—such as charcoal, deep brown, or black. Start along the lower lash line, pressing color close to the roots with a small smudge or detail brush.
Layer and blend upward, following your natural eye shape. A tapered brush helps concentrate pigment while controlling the blend.
Steps for Maximum Impact:
- Line the inner waterline with a waterproof pencil for intensity.
- Gradually wing out the shadow toward the outer corner.
- Blend with a lighter transition shade for a seamless gradient.
For extra drama, pair the under-eye smoke with matching upper lid shadow and finish with multiple layers of mascara. This creates a cohesive look for evenings or special occasions.
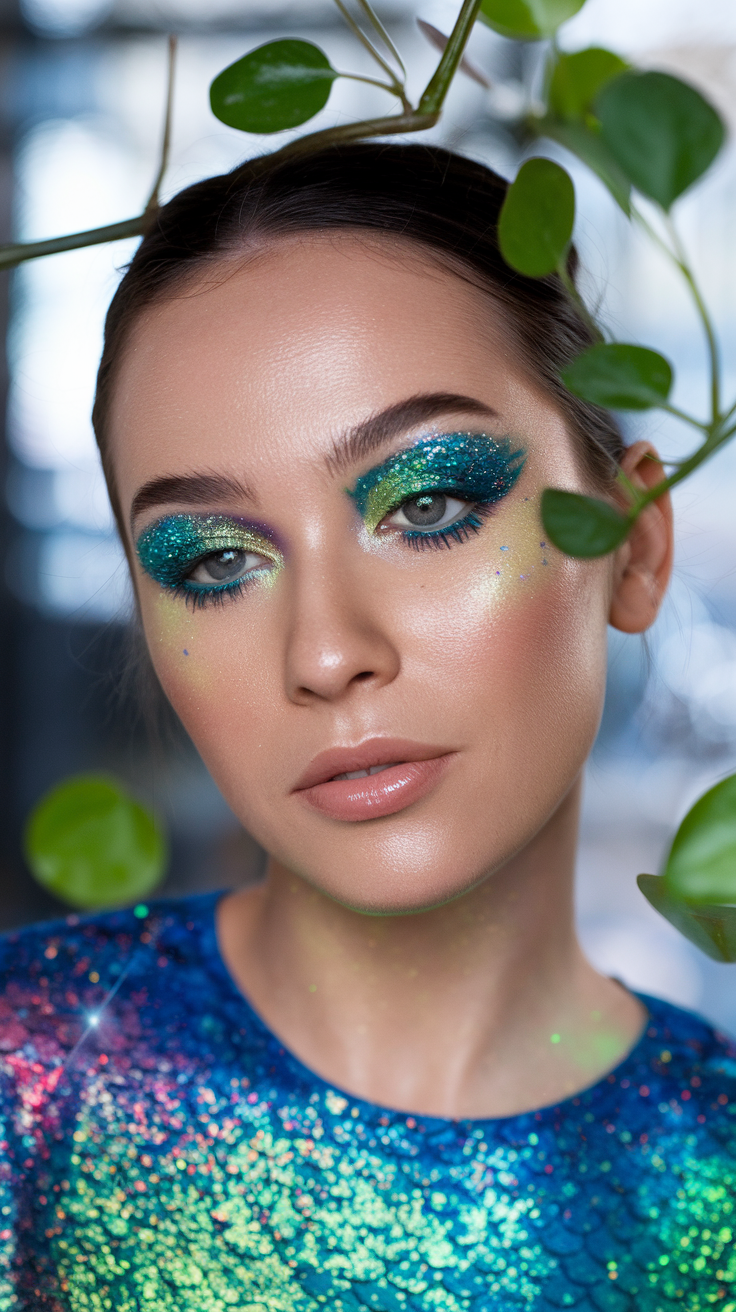
Technique 6: Defining with Contrasting Shades
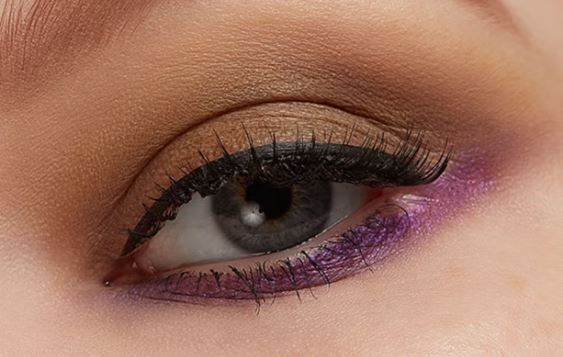
Applying contrasting shades under your eyes adds immediate definition and dimension. This method can make your eyes appear more lifted and awake when done correctly.
Balancing Bold and Neutral Colors
Contrasting shades rely on the right mix of bold and neutral tones. For example, a deep navy or plum paired with a soft beige or taupe can draw attention to your under-eye area without overpowering your look.
Start by blending a neutral shadow as your base under the lower lash line. Then, use a small, precise brush to add a bolder shade slightly closer to your outer corner. Keep the bold color thinner for a subtle effect or slightly thicker for more drama.
If you’re unsure which colors work best, try these combinations:
| Neutral Base | Bold Accent |
|---|---|
| Soft brown | Teal |
| Dusty rose | Charcoal gray |
| Peach | Deep green |
This balance helps keep your makeup wearable for both day and night.
Choosing Contrasts to Enhance Eye Shape
The placement of contrasting colors changes based on your eye shape. If your eyes are round, focus the deeper shade just at the outer third of your lower lash line. This visually elongates your eyes.
For almond or deep-set eyes, layer a lighter contrasting shade across two-thirds of your lower lash line, then deepen the outer edge. This adds brightness where needed and softly defines the natural contour.
Monolid or hooded eyes benefit from a thin sweep of contrast along the entire lash line, using a bright or shimmering color to open up the gaze. Adjust the shade intensity with a light hand for smaller eyes.
Use a clean brush to gently blend the edges so the transition between shades is smooth, not stark. This technique gives you a polished, professional finish every time.
Technique 7: Lifting and Brightening Tricks
Giving your under-eye area a lifted and refreshed look depends on precise placement and choosing the right shades. You can make your eyes appear more awake without needing heavy makeup or complex contouring.
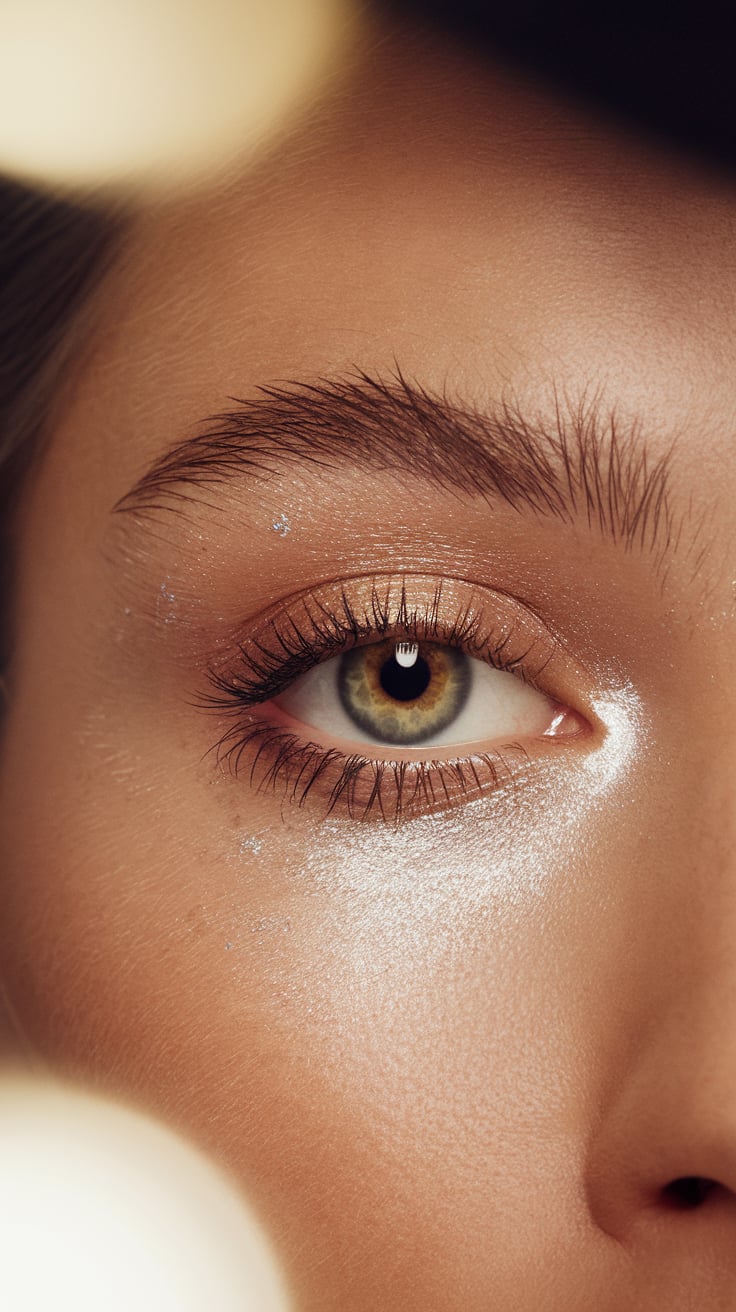
Highlighting the Inner Corner
A small touch of shimmer or light matte shadow in the inner corner can instantly open up your eyes. For best results, use a soft brush or a fingertip and pick a pearl or champagne shade. Apply only to the very inner “tear duct” area and blend gently along the lower lash line.
This step works well with all eye shapes and corrects shadows that often make eyes look tired. Avoid chunky glitter, as it can emphasize fine lines. Subtle highlighting in this area draws attention upward, complementing any other makeup on your lids.
Tips:
- Choose a finely-milled powder for a natural effect.
- For dry skin, a cream product can help the area look more hydrated.
- Pair with a nude lower liner for even more brightness.
Using Peach and Pink Tones
Peach and soft pink shadows cancel out blue or purple undertones, coming in handy for dark circles. Sweep a thin layer of peach or pink shadow just beneath the lower lash line, blending out softly so there are no harsh edges.
This technique lifts the under-eye by counteracting dullness instead of just covering it. It’s most effective when you match the tone to your skin—fair skin often suits soft pink, while medium-to-deep skin usually looks best with peach. This step doubles as brightening and concealing, making your eyes look more lively.
Shade Guide Table:
| Skin Tone | Suggested Shade |
|---|---|
| Fair/Light | Light pink |
| Medium/Tan | Soft peach |
| Deep | Vibrant peach |
By adjusting color selection and blending technique, you get a lifted, bright effect that works across all ages and eye shapes.
Expert Tips for Flawless Under Eye Application
Getting a seamless under eye shadow look depends on using the right methods to control fallout, adapting your tools, and refining your skills. Small adjustments to your technique and setup can make the difference between a clean result and a messy one.
Preventing Fallout and Mess
Under eye shadow fallout is a common annoyance that can ruin your entire look. Choose long-wear or pressed powder formulas, which are less likely to crumble during application. Tapping excess shadow off your brush before applying is essential.
Apply a light layer of translucent loose powder under your eyes prior to working with shadow. This acts as a catchall for any stray pigment, so you can simply sweep it away after. For heavier looks, work with shadow shields or place a tissue directly under your eye as you tap or sweep.
Consider dampening your brush very slightly with a setting spray to help powder shadows stick and prevent dust. Quick cleanup tools include small fan brushes and fluffy powder brushes for erasing fallout without smearing. Having makeup remover wipes on hand allows you to spot-correct in seconds.
Customizing Brushes for Unique Eyes
Every eye shape can benefit from specific brush choices to get precise under eye application. Smaller detail brushes, such as pencil or smudge brushes, work best for targeting the lower lash line without dragging color too far down.
If you have deep-set or smaller eyes, opt for thin, flat brushes that fit comfortably under your lash line. For rounder or larger eyes, you can experiment with slightly fluffier brushes to blend out color further for a softer effect.
Angled brushes are especially helpful when you want a sharp, defined line, such as for a smoky wing. Adjust your brush pressure: use a light hand for a subtle wash or more pressure to intensify pigment. Clean your brushes often to prevent muddled colors or buildup.
Building Confidence with Practice
It’s normal to need several tries to perfect under eye shadow techniques. Practice with different brush angles and motions to find what feels most natural for your eye shape and hand placement.
Use a magnifying mirror if you struggle with close-up application. Film or photograph your results to spot areas for improvement that aren’t obvious in regular lighting.
If you’re new to color placement, start with neutral shades to minimize mistakes and work your way up to bolder colors. Remember, makeup wipes and cotton swabs make it easy to adjust or erase errors, so don’t hesitate to try different looks until you gain confidence.
Common Mistakes to Avoid
Using too much product under your eyes can make shadows look heavy or unnatural. Start lightly and build up as needed—this helps prevent creasing and settling into fine lines.
Skipping primer or setting powder means your shadow might not last. Always prep your under-eye area to minimize smudging and to improve color payoff.
Applying shadow too far down can drag your eyes downwards. Keep your application close to the lower lash line to maintain a lifted look.
Blending is key. Harsh lines can make under-eye shadow look unflattering. Use a clean brush or fingertip to soften edges gently.
Choosing only dark shades under your eye can make eyes look tired. Try mixing in a soft neutral or shimmer to brighten up the look.
Not considering your eye shape can cause techniques to fall flat. Adjust placement and color intensity for what suits your features best.
| Mistake | Quick Fix |
|---|---|
| Over-application | Use minimal product |
| Skipping primer | Prime and set before shadow |
| Harsh lines | Blend with a soft brush |
| Only dark colors | Add lighter tones or shimmer |
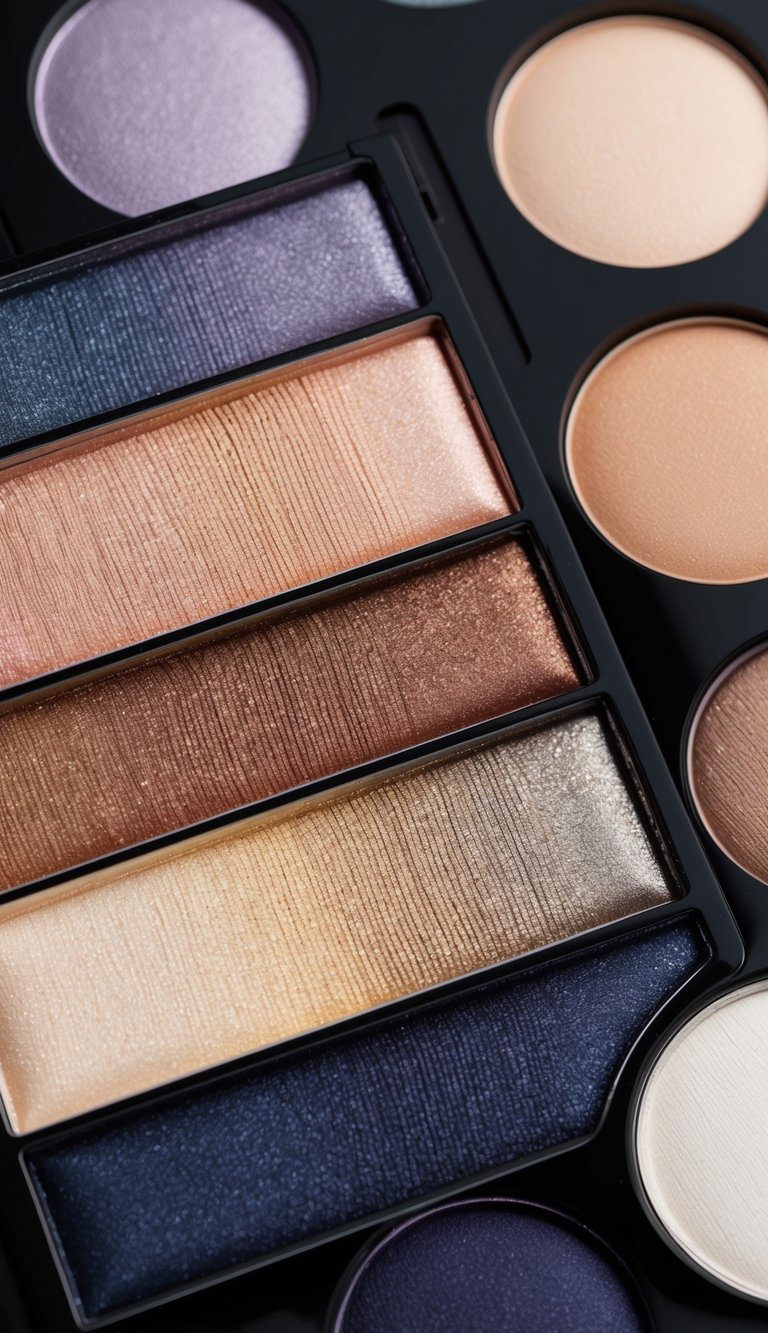
Recommended Products for Professional Results
Choosing the right products can make under eye shadow techniques much easier and more precise. You don’t need a huge kit—just a few quality tools and formulas.
Here are some top picks used by professionals:
- Small Flat Brush: Look for a dense, short-bristled brush. It offers precise application along the lower lash line and makes blending easier.
- Tapered Blending Brush: Helpful for softly diffusing powder shadows and preventing harsh lines.
- Waterproof Gel Pencil: A waterproof formula works well to avoid smudging and ensures your look lasts all day.
| Product Type | Example Brand | Why Pros Like It |
|---|---|---|
| Gel Pencil Eyeliner | Maybelline | Long-lasting, blendable |
| Small Eyeshadow Brush | Morphe | Perfect size for detailing |
| Neutral Shadow Palette | NYX | Versatile shades, blendable |
Try an eye primer before applying shadow to prevent creasing and enhance pigment. Many professionals reach for clear or slightly tinted primers to create a smooth base.
For those with sensitive eyes, fragrance-free formulas and ophthalmologist-tested products are a safe choice. Always check the ingredients list if you have allergies or sensitivities.
Don’t forget to keep some makeup remover and cotton swabs on hand. They’re helpful for quick cleanups and sharpening edges.