9 Unexpected Eyeliner Looks That Will Transform Your Daily Routine
9 Unexpected Eyeliner Looks That Will Transform Your Daily Routine and Refresh Your Style
Switching up how you apply eyeliner can make a big difference in your daily routine. Whether you like bold lines or a subtle touch, experimenting with new styles is a simple way to refresh your look.
Trying unexpected eyeliner looks can help you discover techniques that flatter your features and suit your lifestyle. It’s an easy way to add variety to your makeup without a lot of extra time or effort.
1. Floating Eyeliner
Floating eyeliner offers a fresh spin on your usual eye makeup. Instead of tracing your lash line, you draw a clean line just above the crease. This creates a graphic effect that instantly stands out.
You don’t need advanced skills for this look. Start with a steady hand and a gel or liquid liner. Using a small angled brush can help keep the line sharp and precise.
Choose a color that complements your outfit or stick to classic black for a minimalist finish. If you want a subtle effect, try a brown or deep plum shade. For something bold, experiment with bright hues or even pastels.
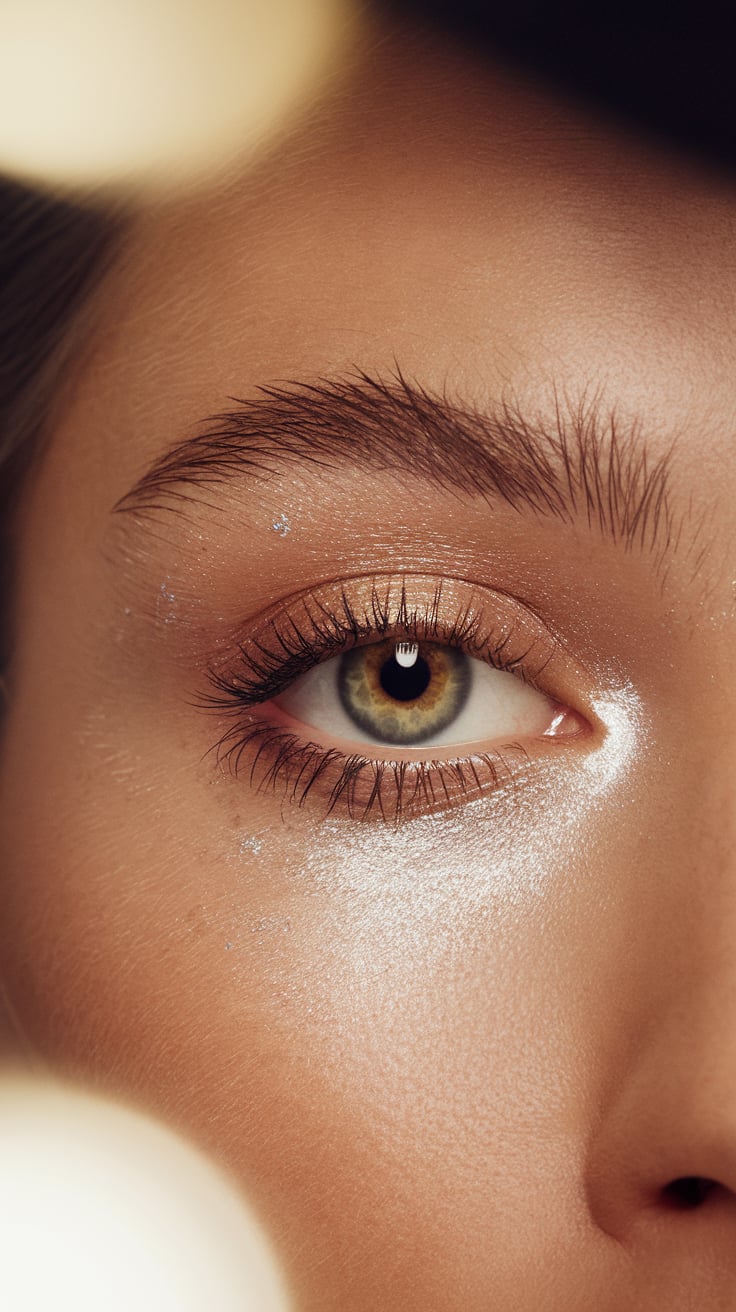
Keep the rest of your makeup simple to let the liner be the star. A coat of mascara and some neutral shadows can balance the look. Floating eyeliner works well for all eye shapes and lets you express your creativity.
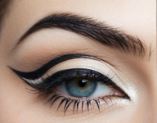
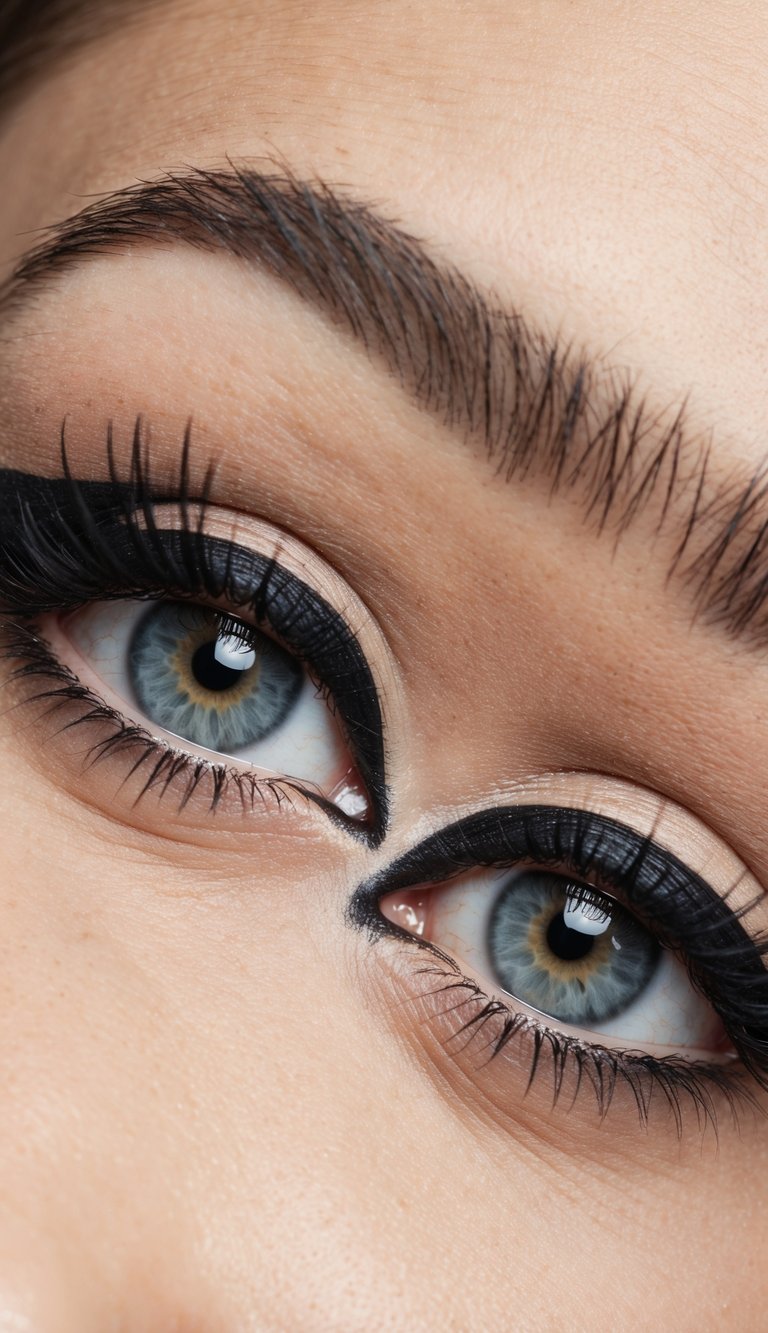
2. Double Winged Liner
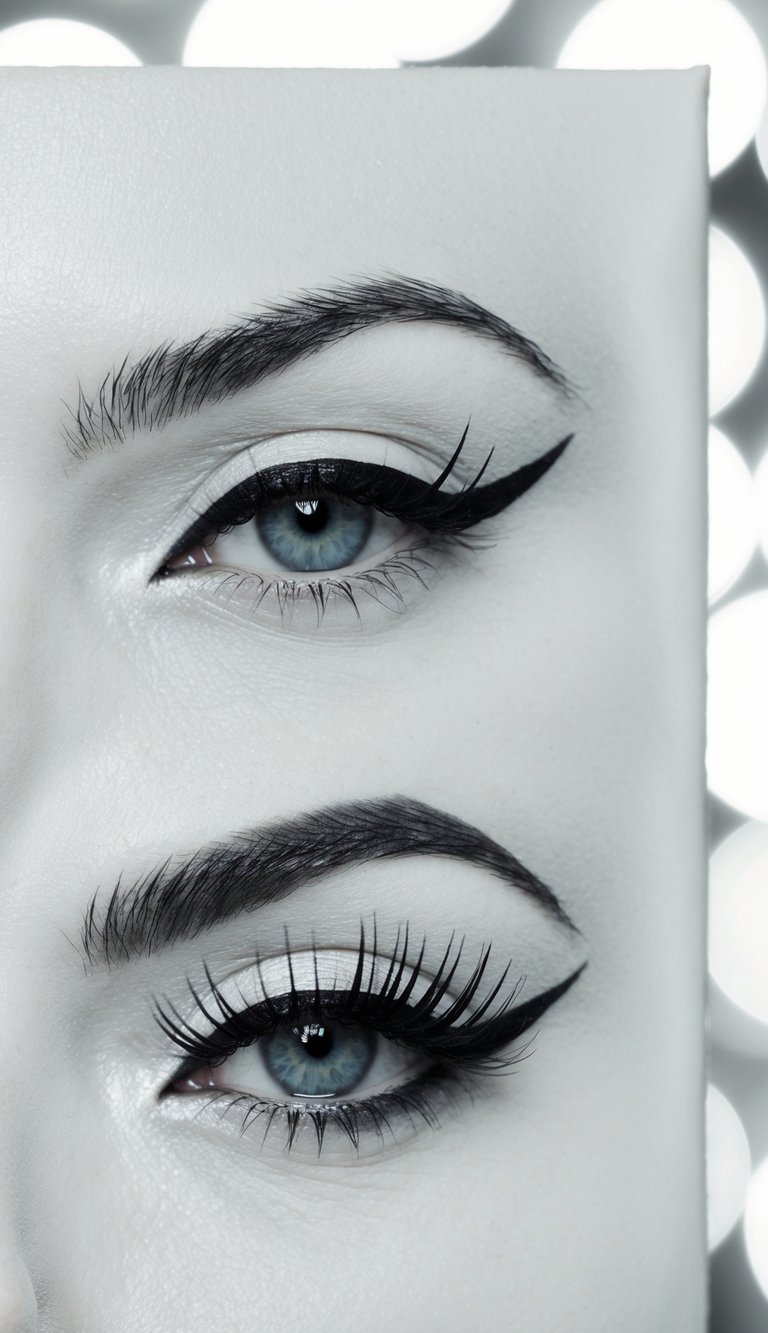
Double winged liner is an easy way to add a bit more interest to your standard winged look. Instead of drawing just one line that flicks out from your outer corner, you’ll add a second wing just below the first.
To get started, line your upper lash line as usual and flick it out. Then, use a steady hand to draw a matching line just below, leaving a tiny gap between the two wings.
You can keep both lines black for a subtle touch or use a colored liner for the lower wing to create contrast. This simple tweak makes your look stand out without being over the top.
Double winged liner is versatile. You can keep the lines thin for a more classic effect, or thicken them for bolder vibes. Try it with both liquid and gel liners to see which works best for you.
Don’t worry if the lines aren’t perfectly symmetrical at first—practice helps. Cleanup with a cotton swab and makeup remover can also help sharpen the edges for a cleaner finish.
3. Reverse Cat Eye
The reverse cat eye gives a fresh twist to the classic look by focusing on your lower lash line instead of your upper lid. You’ll notice how this technique brings attention to your eyes in an unexpected way.
Start by applying dark eyeliner along your lower lash line, extending it outwards to create a subtle wing. You can keep it clean and sharp or smudge it a little for a softer effect.
This style works well with black, brown, or even colored liners if you’re feeling adventurous. It pairs nicely with neutral eyeshadow on your lids, letting the liner stand out.
If you like, add a bit of highlighter or a light eyeshadow in your inner corners to keep the look bright. With the reverse cat eye, you get definition and style without the heaviness of a top-lined lid.
Try pairing this look with minimal mascara on your top lashes for more focus on the lower line. It’s a simple way to change up your everyday routine.
4. Graphic Boxed Liner

Graphic boxed liner offers a geometric twist on traditional eyeliner styles. Instead of following your eye’s natural curve, you draw a rectangular or square shape that frames your outer eyelid.
Start by sketching a straight line along your upper lash line. Extend the line outward, then draw another line upward, forming a corner. Connect it back to your crease to create a clean, boxy outline.
Use a fine-tipped liquid or gel liner for the sharpest edges. Black is a classic choice, but bright colors like teal or white will stand out even more.
This look works best with minimal eyeshadow, allowing the bold liner shape to stay the focus. You can keep the box smaller for subtle flair or exaggerate the shape for a dramatic effect.
Graphic boxed liner may take a little practice. Use makeup remover and cotton swabs to clean up any mistakes as you go.
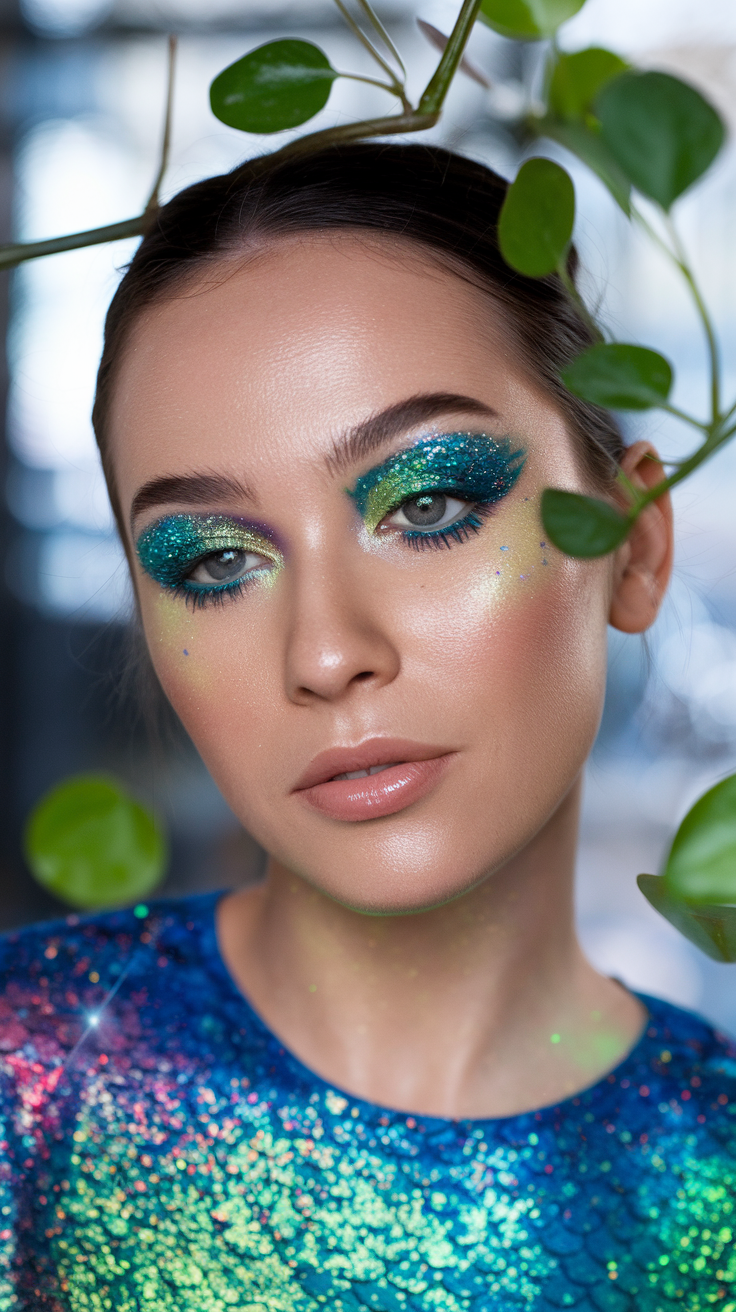
5. Neon Colored Eyeliner
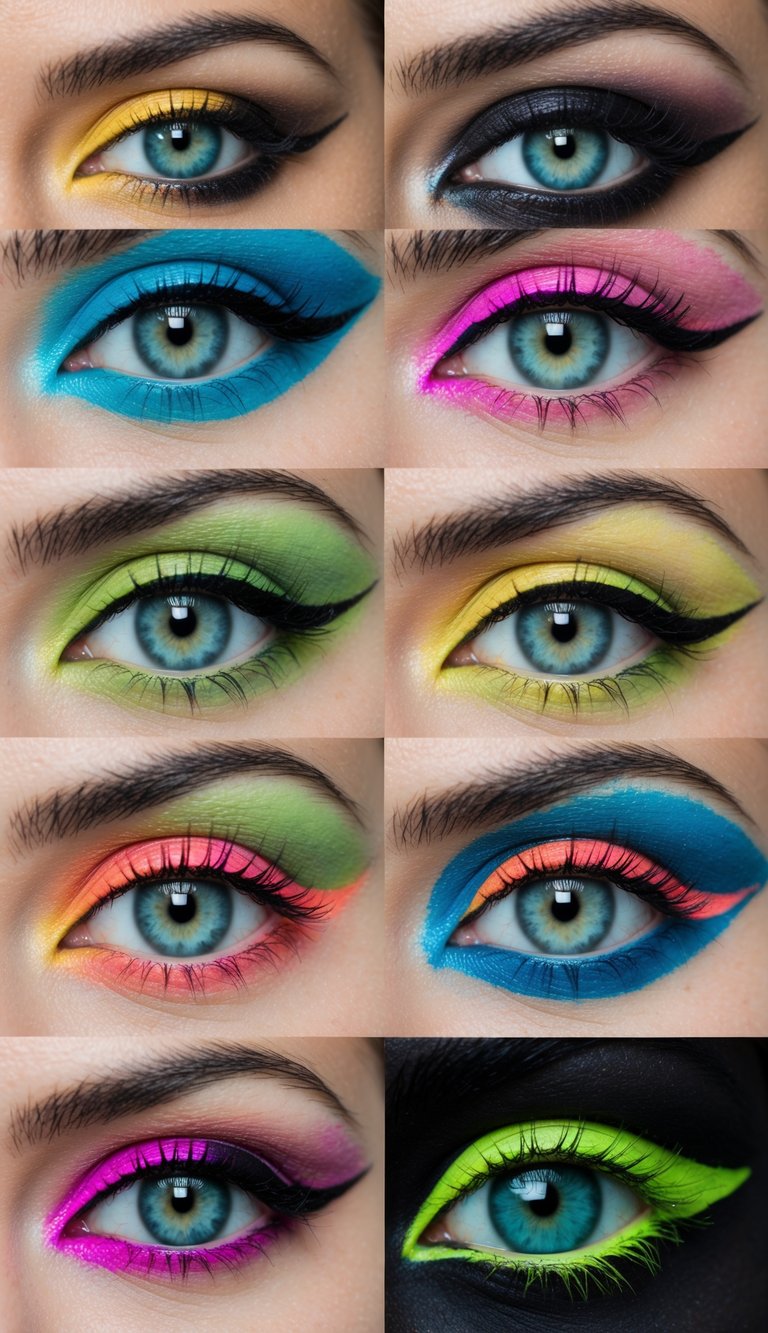
If you want your eyes to stand out, neon colored eyeliner is a fun way to do it. Bright shades like electric blue, lime green, vivid pink, or highlighter yellow instantly draw attention without a complicated application process. You can use neon eyeliner on just your upper lash line for a pop of color, or try a graphic shape.
Don’t feel limited to only one shade. You can pair two or more neon colors for a multi-toned look. Try lining your upper eyelid with hot pink and your lower lash line with aqua for a lively effect.
Neon eyeliner shows up best when paired with neutral shadows or bare eyelids. This look also works well for day or night events, as long as you choose a color that feels right for the occasion. Apply slowly and with a steady hand, since neon colors are less forgiving than classic black.
Gel and liquid neon eyeliners tend to offer the best color payoff and sharpest lines. Remember to let the liner dry before blinking to avoid smudging. You might get compliments and questions about what shade you’re wearing—neon always gets noticed.
6. Glitter Lash Line Pop
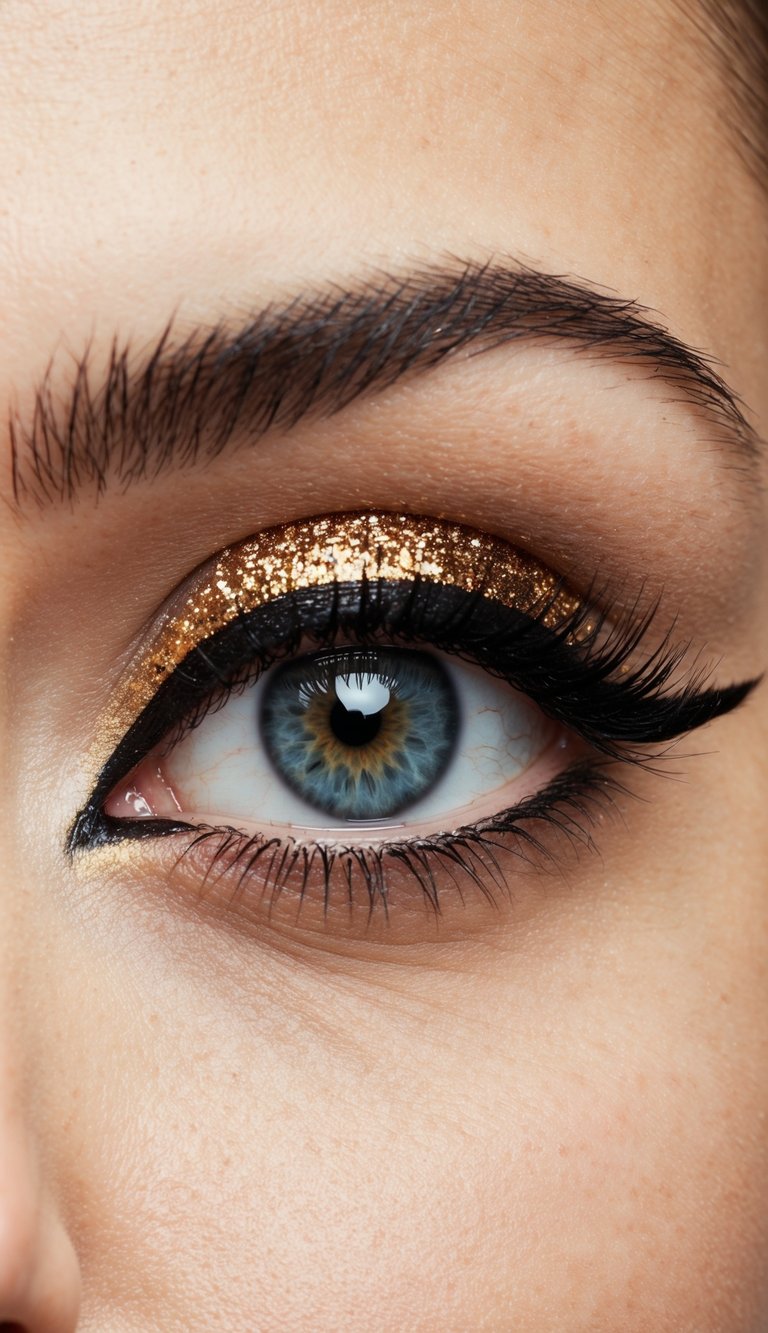
Add a touch of shimmer by applying glitter eyeliner directly to your lower lash line. This simple detail can brighten your eyes and give an extra twist to basic eye makeup.
Choose a fine-tipped glitter liner for more precision. You can stick with classic shades like gold or silver, or branch out with fun colors to match your outfit or mood.
Keep the rest of your makeup minimal for balance. Pairing glitter just on the lower lash line helps your eyes stand out without being overwhelming.
To prevent fallout, press the glitter liner gently onto your skin and allow it to dry for a few seconds. You can use a cotton swab to clean up any stray sparkles for a neat finish.
Try this look for parties, special occasions, or when you want something playful and a little different from your routine. It’s a creative way to make your eyes the focal point of your makeup.
7. Under-Eye Smudge
Try smudging a bit of eyeliner just below your lower lash line for a softer, casual look. This method adds a subtle shadow without looking harsh or overdone. It works especially well with a pencil or smudging brush.
You can use brown, plum, or even a muted gray for a softer effect. Gently blend the liner with your fingertip or a cotton swab to create a diffused edge. This makes your eyes stand out without a heavy or sharp line.
Keep the rest of your eye makeup simple, so the smudged liner is the focus. A touch of mascara is all you need to complete this relaxed style. Give this technique a try when you want an easy look that takes just a minute.
8. Bold White Liner
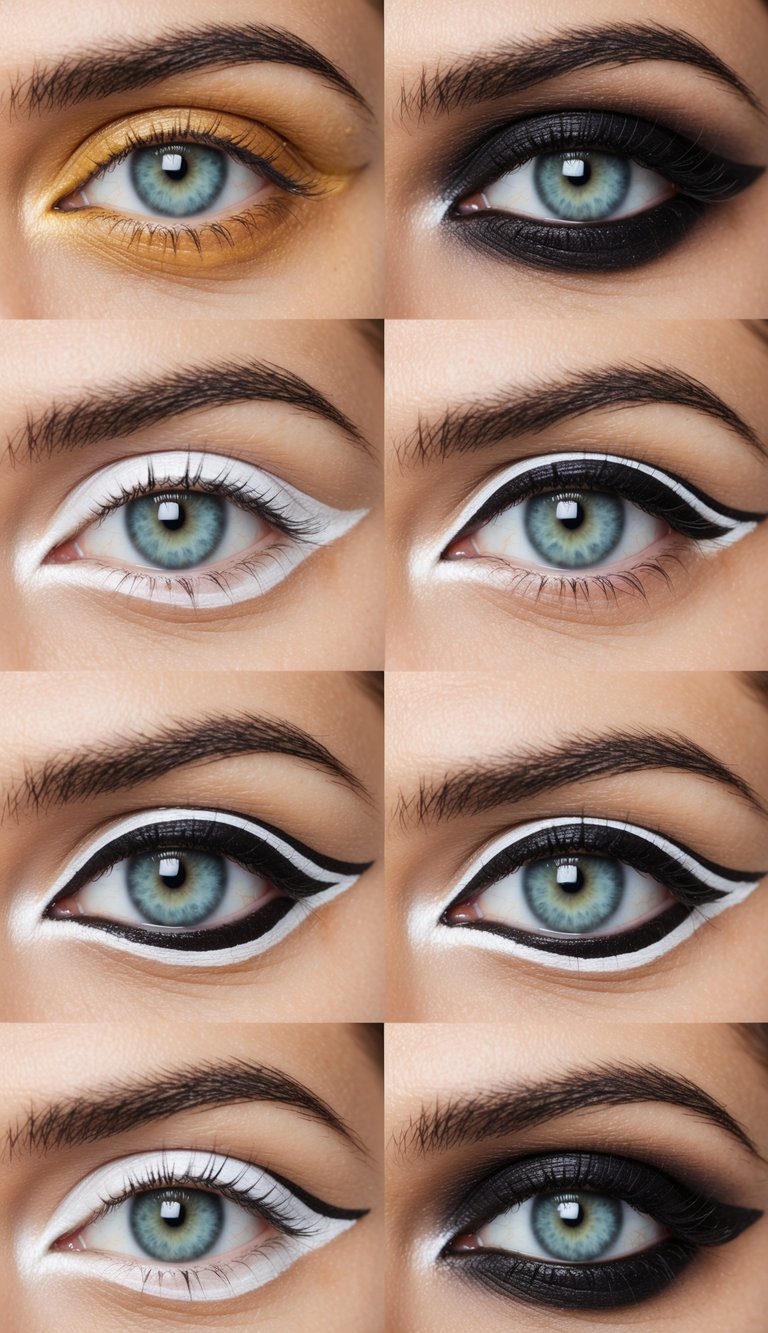
Switch up your standard liner with a crisp white option. White eyeliner instantly brightens your eyes and adds a modern touch to simple makeup looks.
You can use it to line your upper lash line for a graphic statement. Alternatively, try it on your lower waterline to make your eyes look more awake.
White liner works well with both neutral and colorful eyeshadows. It helps your eyes pop without looking overdone or heavy.
You don’t have to create perfect wings—sometimes just a bold swipe across the lids is enough. Pair with minimal mascara for a fresh, effortless effect.
Give it a try the next time you want something a bit different. White liner is versatile and easy to adapt for both casual days and playful evenings.
9. Gradient Ombre Liner
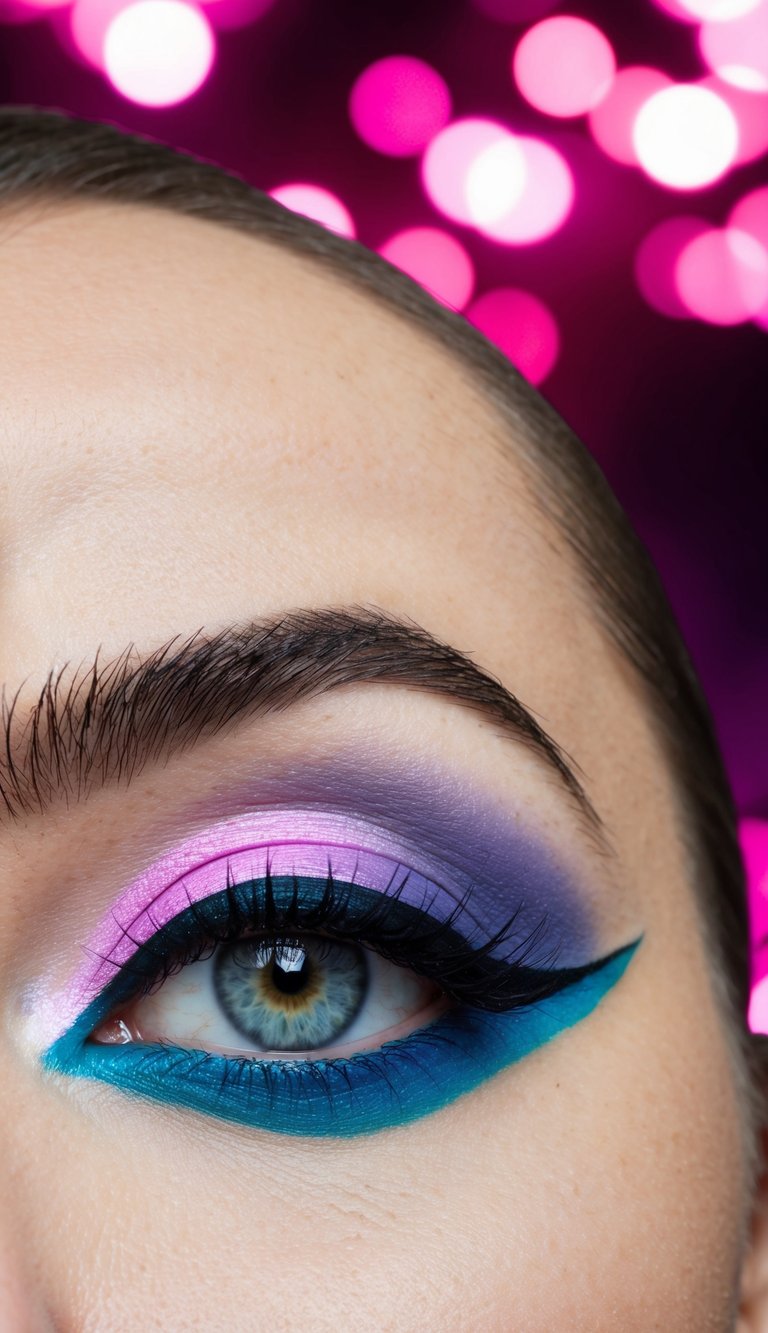
Gradient ombre liner is a creative way to blend multiple shades across your lash line for a soft, multidimensional look. You can use two or three colors that transition smoothly from light to dark, usually starting with the lightest tone at the inner corner and the darkest at the outer edge. This effect adds subtle depth and interest to your eyes.
To try this, pick shades that complement each other, like soft pink fading into plum or teal melting into navy. Use a small brush or a pencil eyeliner for each section, blending gently at the color boundaries so there are no harsh lines. Gel and cream formulas work especially well for seamless blending.
This style works with both bold colors or muted earth tones, depending on your mood or outfit. You can keep it simple with two shades for a gentle transition or go bolder with three for a bit more impact. Whether you stick with classic neutrals or venture into brights, gradient ombre liner offers everyday versatility with a playful twist.
Choosing the Right Eyeliner for Bold Looks
The type of eyeliner and color you choose makes a big difference in how easy it is to create strong, defined styles. Thinking about the texture and finish of your product can help you achieve crisp lines, dramatic flicks, or soft halos around the eyes.
Gel vs. Liquid vs. Pencil
Gel Eyeliner sits between liquid and pencil in terms of texture and finish. It’s ideal if you want intense color but with a bit more control, perfect for dramatic wings or smudged effects.
Liquid Eyeliner offers the sharpest, most precise lines. It’s best for graphic shapes, ultra-fine tips, or bold statements. Use a felt-tip pen for easy handling, or brush-tip for more flexibility and thinner lines.
Pencil Eyeliner is the easiest to apply, especially if you’re just starting out or want a soft, smoky look. Pencils are also good if you plan to smudge the liner or line your waterline. Opt for a creamy formula to avoid tugging.
Comparison Table:
| Type | Best For | Finish | Skill Level |
|---|---|---|---|
| Gel | Wings, smudging | Matte/Satin | Intermediate |
| Liquid | Precision, graphic | Sharp/Glossy | Advanced |
| Pencil | Smudged, casual | Matte/Natural | Beginner |
How to Select Colors for Your Eye Shape
Choosing eyeliner color based on your eye shape helps define and enhance your eyes. For round eyes, try darker shades like navy or charcoal along the outer corners to elongate the shape. If you have almond eyes, most colors and styles suit you, but adding a pop of metallic or jewel tones can make them stand out.
If your eyes are hooded, lighter colors can open up the lid space without making eyes look smaller. Avoid thick, dark lines on the upper lid; instead, use a soft brown or mauve just above the crease. For monolids, bold colors show up beautifully—experiment with teal, violet, or emerald along the lash line for a lift.
Don’t overlook your skin tone, too. If you have fair skin, browns and cool tones often look natural, while deep plums and bronze shades enhance medium to deep skin tones. Test shades on the back of your hand to see how they complement your complexion before applying.
Pro Tips for Flawless Application
Proper eyeliner application doesn’t have to be difficult. By focusing on technique and learning which habits to avoid, you can master even creative and intricate looks.
Common Mistakes to Avoid
Many people make similar eyeliner mistakes that can impact the final result. Applying too much pressure can cause uneven lines and make blending difficult. Using expired or dried-out products often leads to patchy results and can irritate your eyes.
Top mistakes to watch for:
- Pulling the skin around your eyes too tightly, which distorts the line shape
- Skipping primer, resulting in smudging and fading
- Using the wrong type of liner for your look; liquid liners work best for sharp lines, while pencils are better for soft, blended styles
If you find your lines looking uneven or unevenly thick, try using shorter, gentle strokes instead of attempting one long sweep. Always clean your tools regularly to prevent product build-up that can affect application.
Blending Techniques for Unique Styles
Blending is key when creating graphic or multi-color eyeliner looks. Start by laying down your main color or line, then use a small, dense brush or tip of a cotton swab to gently smudge edges as desired.
For ombré or layered effects, try using two or more shades:
- Apply the darkest color near the lash line
- Softly blend a lighter shade above or beside it using a clean brush
- Feather edges outward for a diffused halo effect
Work in thin layers and add product slowly—this helps keep the look tidy and gives you control. If you’re not satisfied with the blend, use a tiny bit of translucent powder on a brush to soften harsh lines without smearing your design.